Step-by-Step Guide: Creating Custom Shelves for Any Room
Adding custom shelves to your home is one of the most versatile DIY projects you can tackle. Whether you’re looking to create a stylish display for your favorite decor, add practical storage in your kitchen, or organize your workspace, custom shelves are a budget-friendly solution that adds both functionality and charm.
This step-by-step guide will walk you through everything you need to know to create beautiful, sturdy shelves tailored to any room in your home.
Materials & Tools You’ll Need
- Wooden planks (choose your preferred size and type: pine, oak, reclaimed wood)
- Wall brackets or floating shelf hardware
- Screws and wall anchors
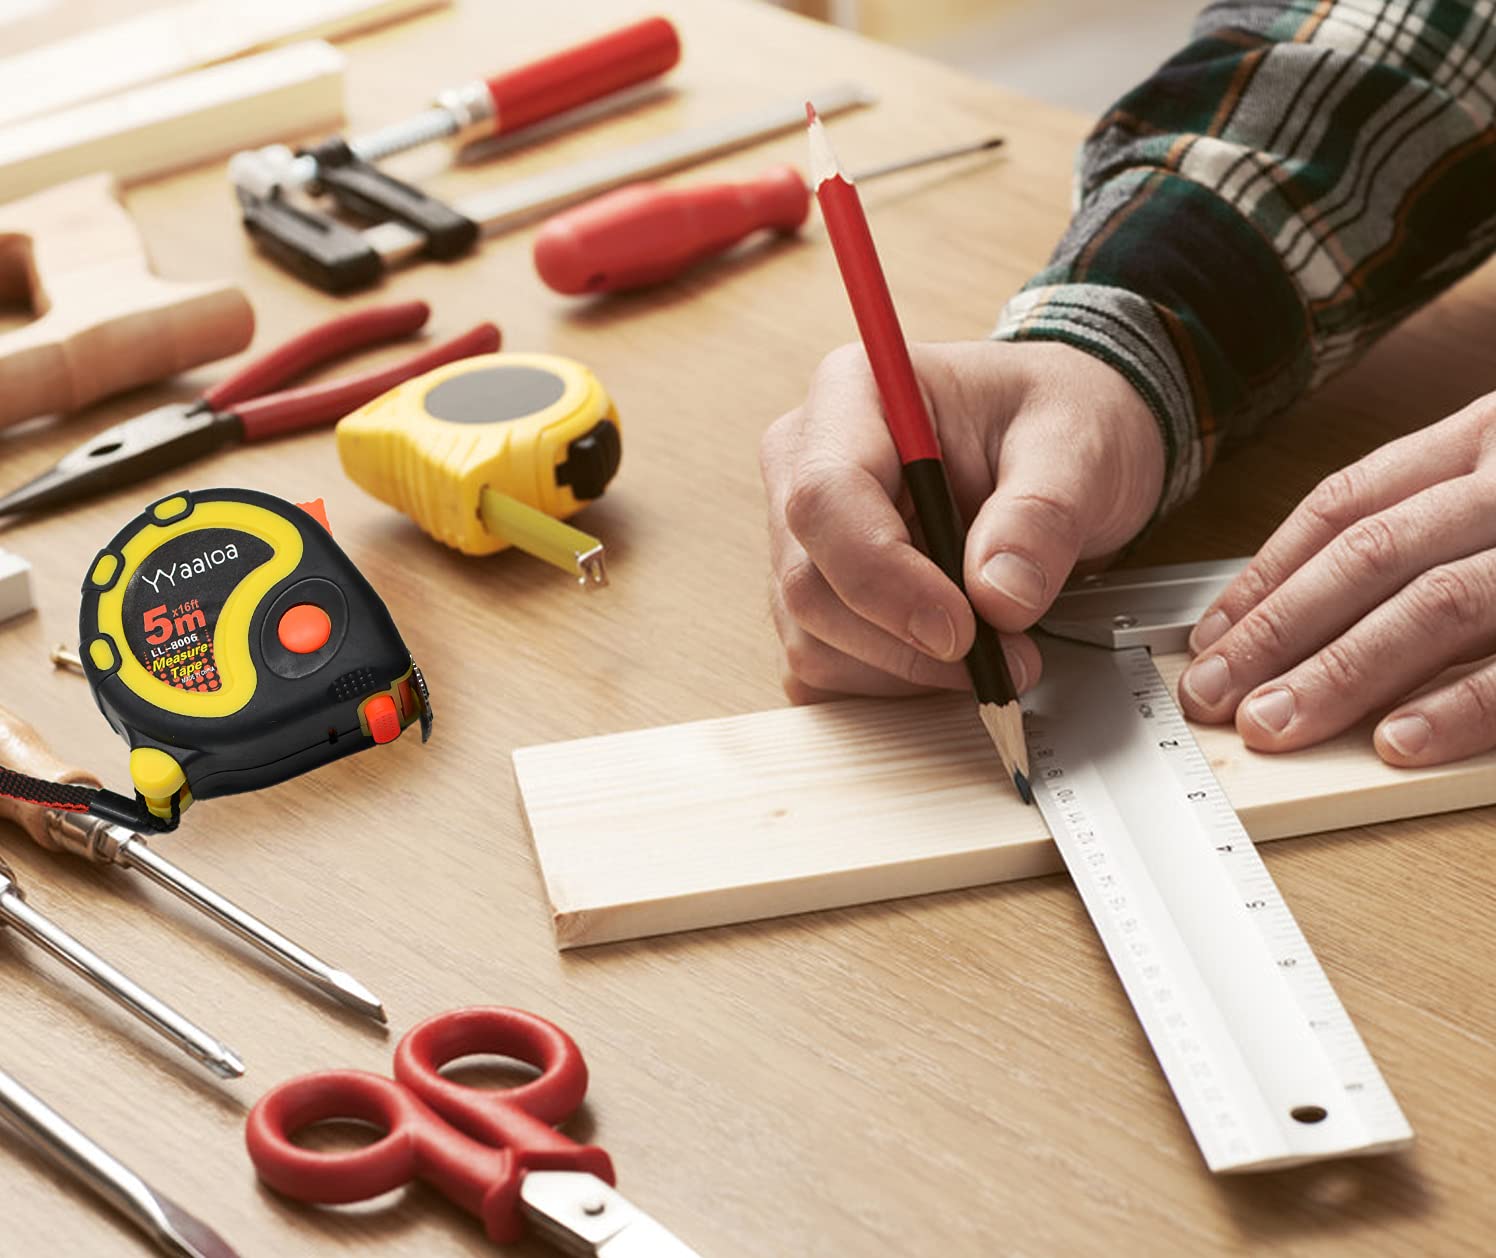
- Measuring tape
- Level (for perfect alignment)
- Power drill and screwdriver
- Sandpaper
- Paint or wood stain (optional, for finishing)
Step 1: Plan Your Shelf Design
Start by deciding where you want to install your shelves. Consider:
- Purpose: Will they hold books, plants, or decor?
- Style: Do you prefer floating shelves or ones with visible brackets?
- Dimensions: Measure the wall space to determine the length, depth, and spacing between shelves.
Tip: Sketch your design to visualize how it will look and ensure everything fits perfectly.
Step 2: Measure and Mark the Wall
Accurate measurements are key to sturdy shelves:
- Mark the Shelf Height: Use a pencil and level to draw a light guideline where the shelf will sit.
- Bracket Placement: If using brackets, mark the screw holes on both sides, ensuring they’re evenly spaced.
- Double-Check: Measure twice to avoid mistakes!
Step 3: Prepare the Wooden Planks
Now it’s time to prepare the shelves:
- Cut the Wood (if needed): Use a saw to adjust the length.
- Sand the Surface: Smooth the wood with sandpaper to remove any rough edges.
- Finish: Apply paint, stain, or sealant for a polished look. Let it dry completely before installation.
Tip: Choose a finish that complements your room’s style—natural wood for a rustic feel or bold colors for a modern vibe.
Step 4: Install the Brackets (or Floating Hardware)
- Drill Pilot Holes: This helps prevent the wall from cracking.
- Insert Wall Anchors: Especially important if you’re not drilling into studs.
- Secure the Brackets: Attach them firmly with screws, using a level to keep everything straight.
Note: For floating shelves, follow the hardware instructions carefully to ensure a secure fit.
Step 5: Mount the Shelves
Carefully place the wooden planks on top of the brackets (or slide them onto the floating mounts). Secure them in place with screws if needed.
- Check Stability: Gently press down to make sure the shelf is sturdy.
- Final Adjustments: Use a level one last time to ensure perfection.
Step 6: Style Your Shelves
The fun part! Arrange your shelves with a mix of books, plants, photos, and decorative objects. Play with heights, textures, and colors for a balanced look.
Styling Tips:
- Group items in odd numbers for visual interest.
- Layer items by placing smaller pieces in front of larger ones.
- Add greenery for a fresh, lively touch.
Final Thoughts
Creating custom shelves is a rewarding project that combines functionality with personal style. With just a few tools, some wood, and a little creativity, you can transform any wall into a beautiful, organized display.
Would you try this DIY shelf project for your next weekend makeover?
editor's pick
news via inbox
Nulla turp dis cursus. Integer liberos euismod pretium faucibua

